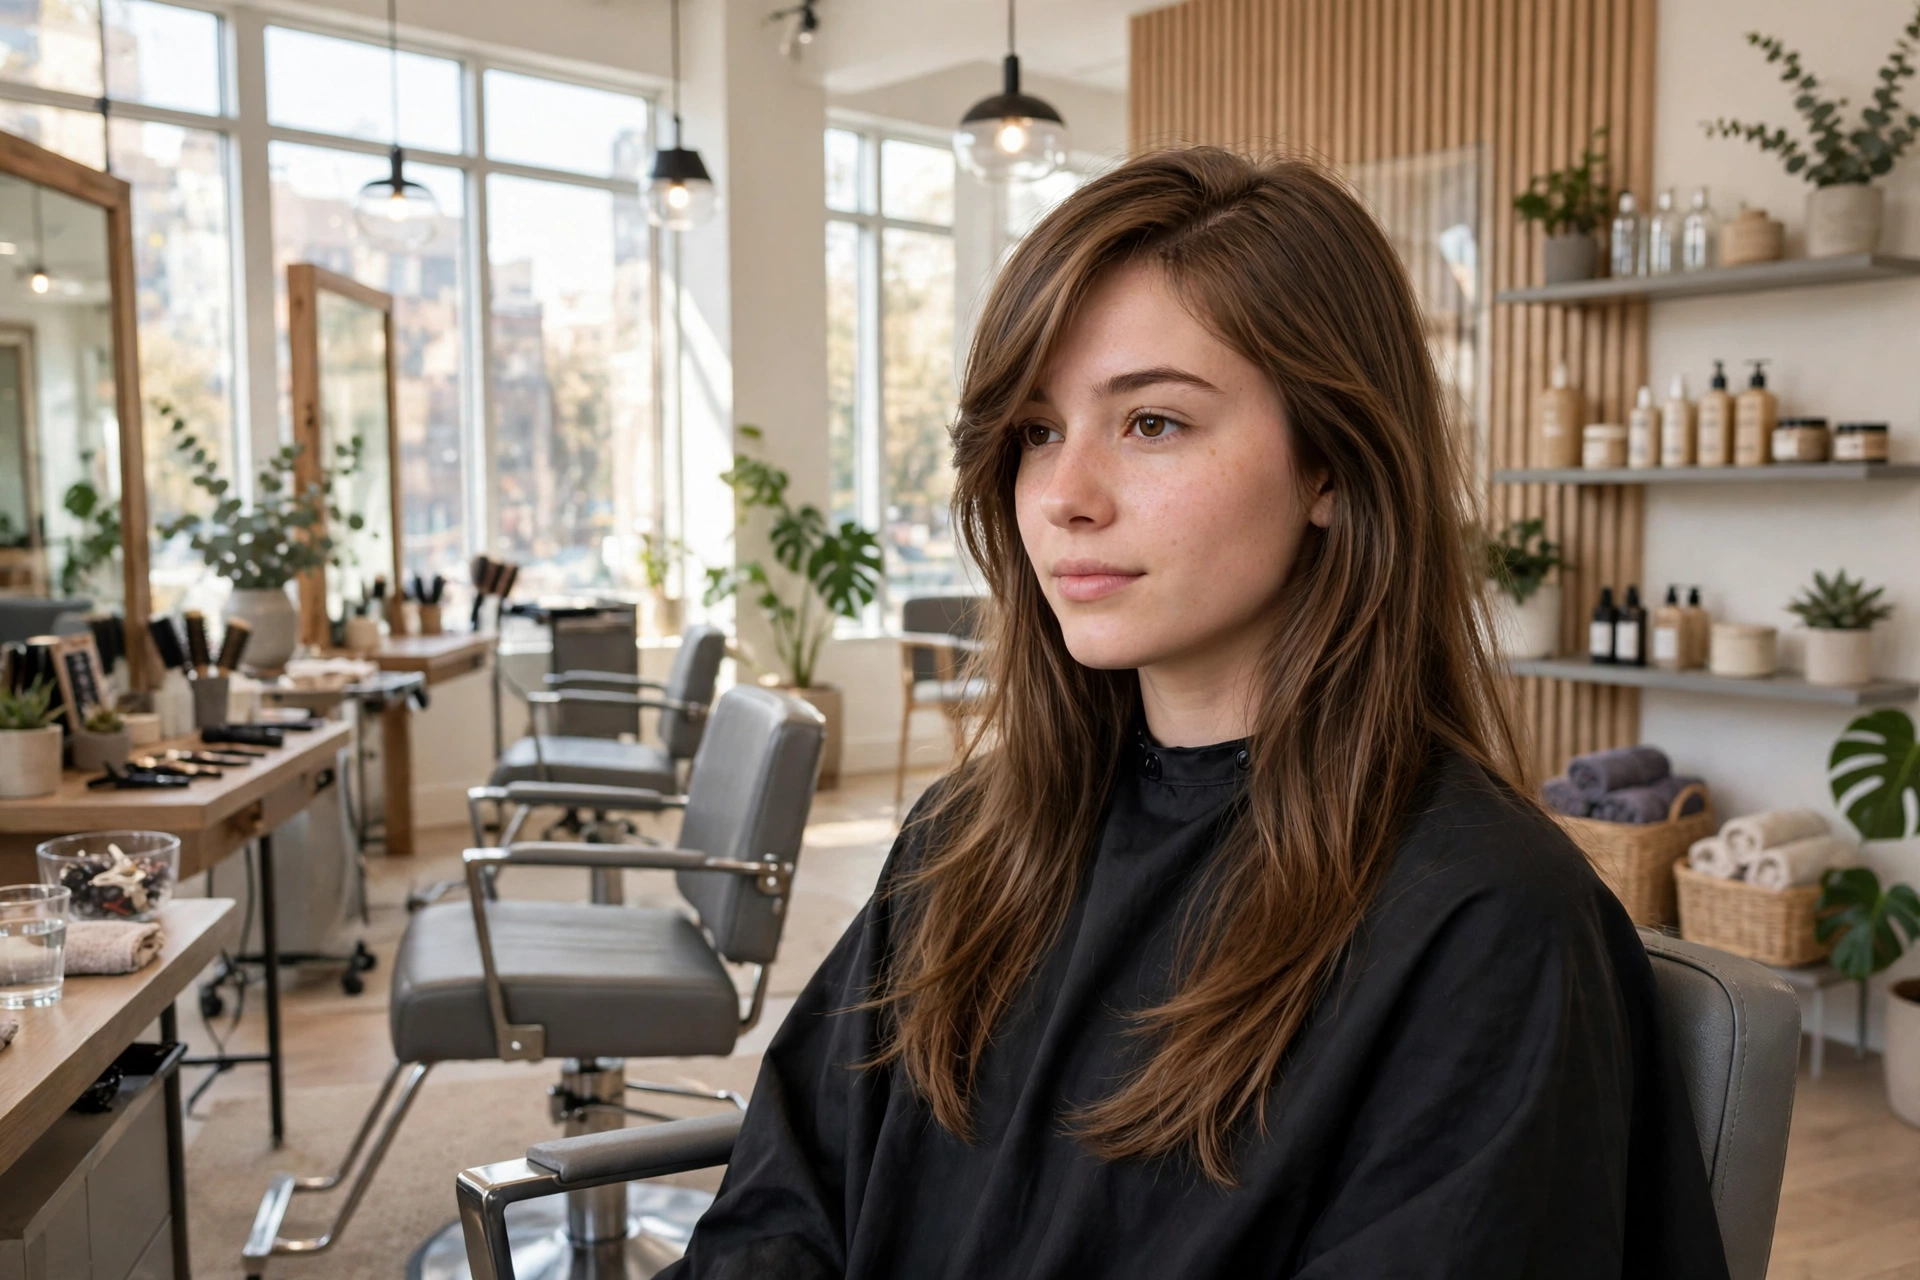
Growing out bangs is the haircut decision almost everyone regrets for about two weeks — and then forgets about. The hard part is not the growing. Hair grows about half an inch a month, so bangs reach your cheekbones in roughly 3 to 6 months. The hard part is the middle: the weeks when your bangs are too long to wear forward and too short to tuck behind your ears.
The good news is that the awkward phase is mostly a styling problem, not a waiting problem. With the right part, the right pins, and a smart trim plan, you can look put-together at every stage. This guide walks through the timeline, the styles that hide each stage, and the mistakes that make the grow-out drag on.
How long does it take to grow out bangs?
Hair grows about half an inch per month on average. That means:
- Blunt bangs to eyebrow length: about 4 to 6 weeks
- Eyebrow length to cheekbone length: another 6 to 8 weeks
- Cheekbone length to chin length (blended into layers): another 6 to 8 weeks
Most people reach a comfortable, blended length in 3 to 6 months, depending on where the bangs started and how long the rest of the hair is. There is no product that makes hair grow dramatically faster — the realistic goal is healthy hair that grows steadily, not a shortcut. If you are still deciding which bangs suit you in the first place, our Bangs 101 guide covers every type and who they flatter.
The stages (and what to do at each one)
Weeks 1–4: the “too long to wear, too short to pin” stage
Your bangs start covering your eyebrows and falling into your eyes. This is the moment most people give up and re-cut. Do not. Start training the bangs to move sideways now: blow-dry them across your forehead with a round brush, and try a deep side part. The new direction takes a week or two to set, so start early.
Months 2–3: the eye-poking stage
The bangs reach your eyes and refuse to stay put. This is peak awkwardness — and the stage where styling matters most. Side-swept styles, pins, and headbands do the heavy lifting here. Book a blending trim (see below) around month 2 or 3.
Months 4–6: the blending stage
The bangs reach your cheekbones and start to merge with the front layers of your hair. A middle part now turns them into curtain bangs, and a side part turns them into face-framing layers. You are nearly done — the bangs are becoming part of your haircut instead of a separate piece.
7 styles that hide the awkward phase
1. The deep side part
The single most useful trick. Shift your part far to one side and sweep the bangs across your forehead toward your temple. The extra length from the diagonal makes them behave, and the angle flatters most face shapes. Mist with a light-hold hairspray to keep flyaways down.
2. Curtain bangs in transition
Once the bangs reach your cheekbones, part them in the middle and let them fall to either side of your face. You get the curtain-bang look for free — and it is a style people pay for on purpose. Blow-dry the pieces away from your face with a round brush for the classic sweep.
3. Pin them back
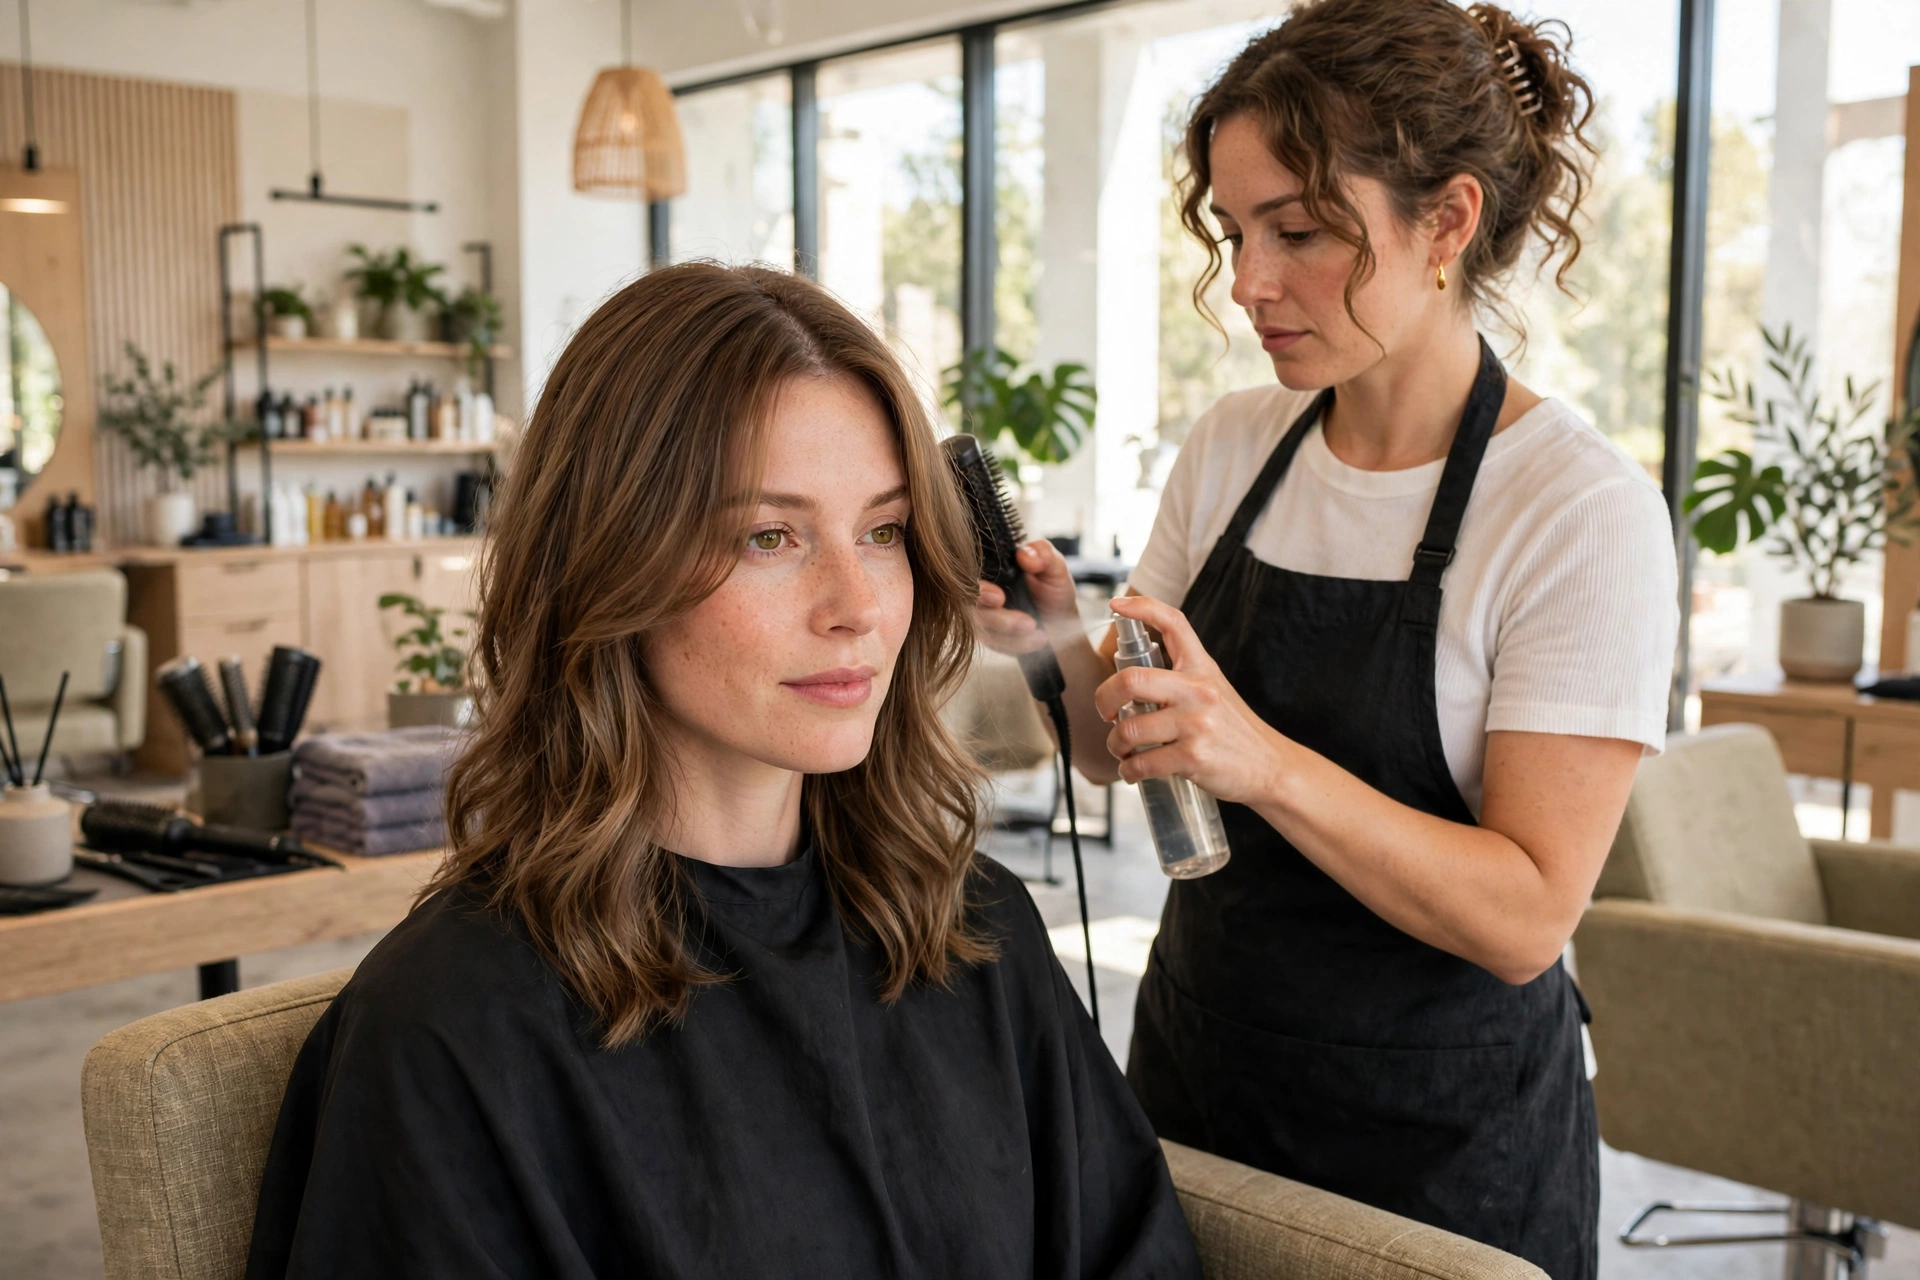
Bobby pins are your best friend in months 2 and 3. Twist a small section back from your forehead and pin it at the crown, or pin the bangs to one side with a flat clip. Match the pins to your hair color for a subtle look, or use a statement barrette and make it part of the outfit.
4. Twist or braid them away
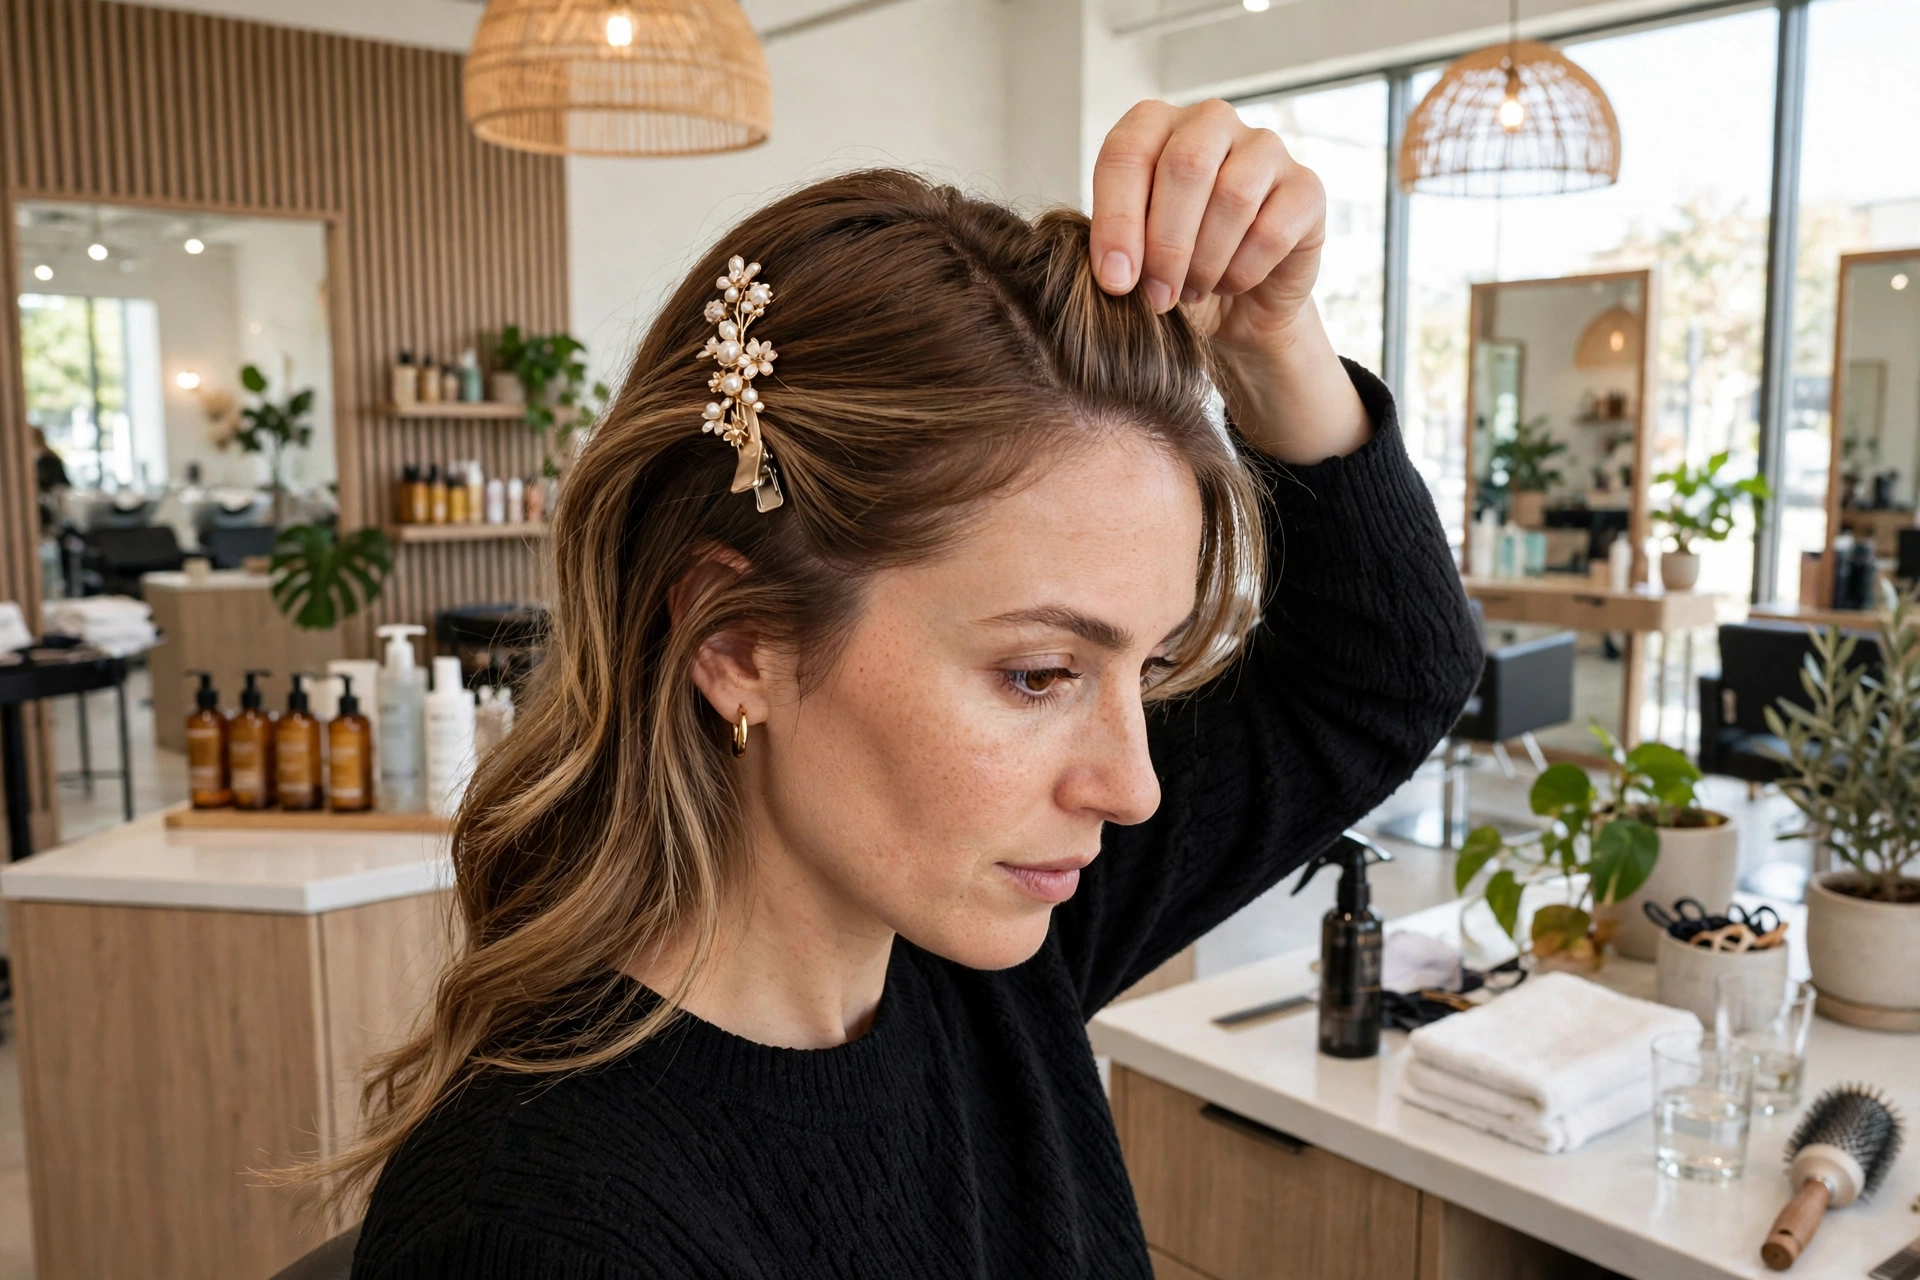
A small French braid or a simple twist along the hairline keeps the front sections off your face and looks intentional. It works on straight, wavy, and curly hair, and it takes about two minutes once you have done it a few times.
5. Headbands and scarves
A wide headband worn just behind the hairline pulls everything back smoothly. A silk scarf tied at the crown does the same thing with more polish — and both hide the shortest, most stubborn pieces that refuse to stay pinned.
6. The slicked-back look
For a sleek evening style, brush the bangs back with a light gel and a bristle brush, then gather the rest into a high bun or a low ponytail. The gel holds the short pieces in place, and the whole look reads as deliberate, not grown-out.
7. Half-up styles
A half-up ponytail, a twisted crown, or a small top knot lifts the front sections away from your face while the rest of your hair stays down. It is the easiest everyday fix once the bangs are long enough to gather.
The trim plan: dust, don’t chop
The biggest mistake is trimming the bangs back to their old length every time they get annoying. That restarts the clock. Instead, ask your stylist for:
- Dusting: a tiny trim — just the split ends — every 6 to 8 weeks, so the bangs stay healthy without losing length.
- Point-cutting or feathering: softening the blunt edge of the bangs so they blend into the rest of your hair instead of sitting as a separate block.
- Face-framing layers: subtle layers around the temples that help the longer bang pieces merge with the sides sooner.
Book a blending trim around month 2 or 3, when the awkward phase peaks. Tell your stylist you are growing the bangs out — a good stylist will cut the rest of your hair to meet the bangs, not the other way around. And if you want the exact words for that conversation, our guide on how to ask your stylist for layers has a script you can use.
Hair care during the grow-out
Healthy hair grows better and looks better while it grows. Keep it simple: wash 2 to 3 times a week, condition the ends, and go easy on hot tools — daily flat-ironing on short bang pieces causes breakage, which makes the grow-out look thinner and slower. A pea-sized amount of texturizing paste or sea salt spray adds grip and shape to stubborn strands; heavy gels and pomades weigh them down and make them look greasy. A silk pillowcase is a small upgrade that cuts down on overnight frizz and breakage.
Mistakes that make the awkward phase longer
- Trimming the bangs back to their old length. It feels like a fix, but it restarts the grow-out.
- Cutting them yourself at home. Bangs are the hardest section to cut evenly, and a bad DIY trim usually means a salon visit to fix it.
- Skipping trims entirely. Split ends travel up the hair shaft and break off, so untrimmed bangs can look shorter, not longer.
- Using heavy products. Thick pomades and heavy gels flatten short bangs and make them look oily.
- Fighting your hair type. Curly bangs shrink as they dry, so judge length when dry. Wavy bangs need a diffuser, not a flat iron, to blend smoothly.
If you are growing out a whole short cut rather than just bangs, the same patience applies — our guide to growing out a pixie cut covers the stages and styles for that longer journey. And if you are wondering how often the rest of your hair needs a trim while the bangs catch up, see how often women should trim their hair.
FAQ
How long does it take to grow out bangs?
About 3 to 6 months to reach a blended, chin-length layer. Hair grows roughly half an inch a month, so blunt bangs take about a month to pass the eyebrows and another two to three months to blend with the rest of your hair.
Should I trim my bangs while growing them out?
Yes, but only lightly. Ask for a dusting — just the split ends — every 6 to 8 weeks, plus point-cutting to soften the blunt edge. Do not trim them back to their original length or the grow-out starts over.
What is the easiest way to style bangs while they grow?
A deep side part is the simplest fix: sweep the bangs across your forehead and pin them behind your ear. Once they reach cheekbone length, a middle part turns them into curtain bangs, which is a style in its own right.
Can I grow out bangs without looking messy?
Yes. The awkward phase is a styling problem, not a waiting problem. Side parts, pins, headbands, twists, and half-up styles keep the growing pieces looking intentional at every stage — and one blending trim around month 2 or 3 makes the biggest difference.